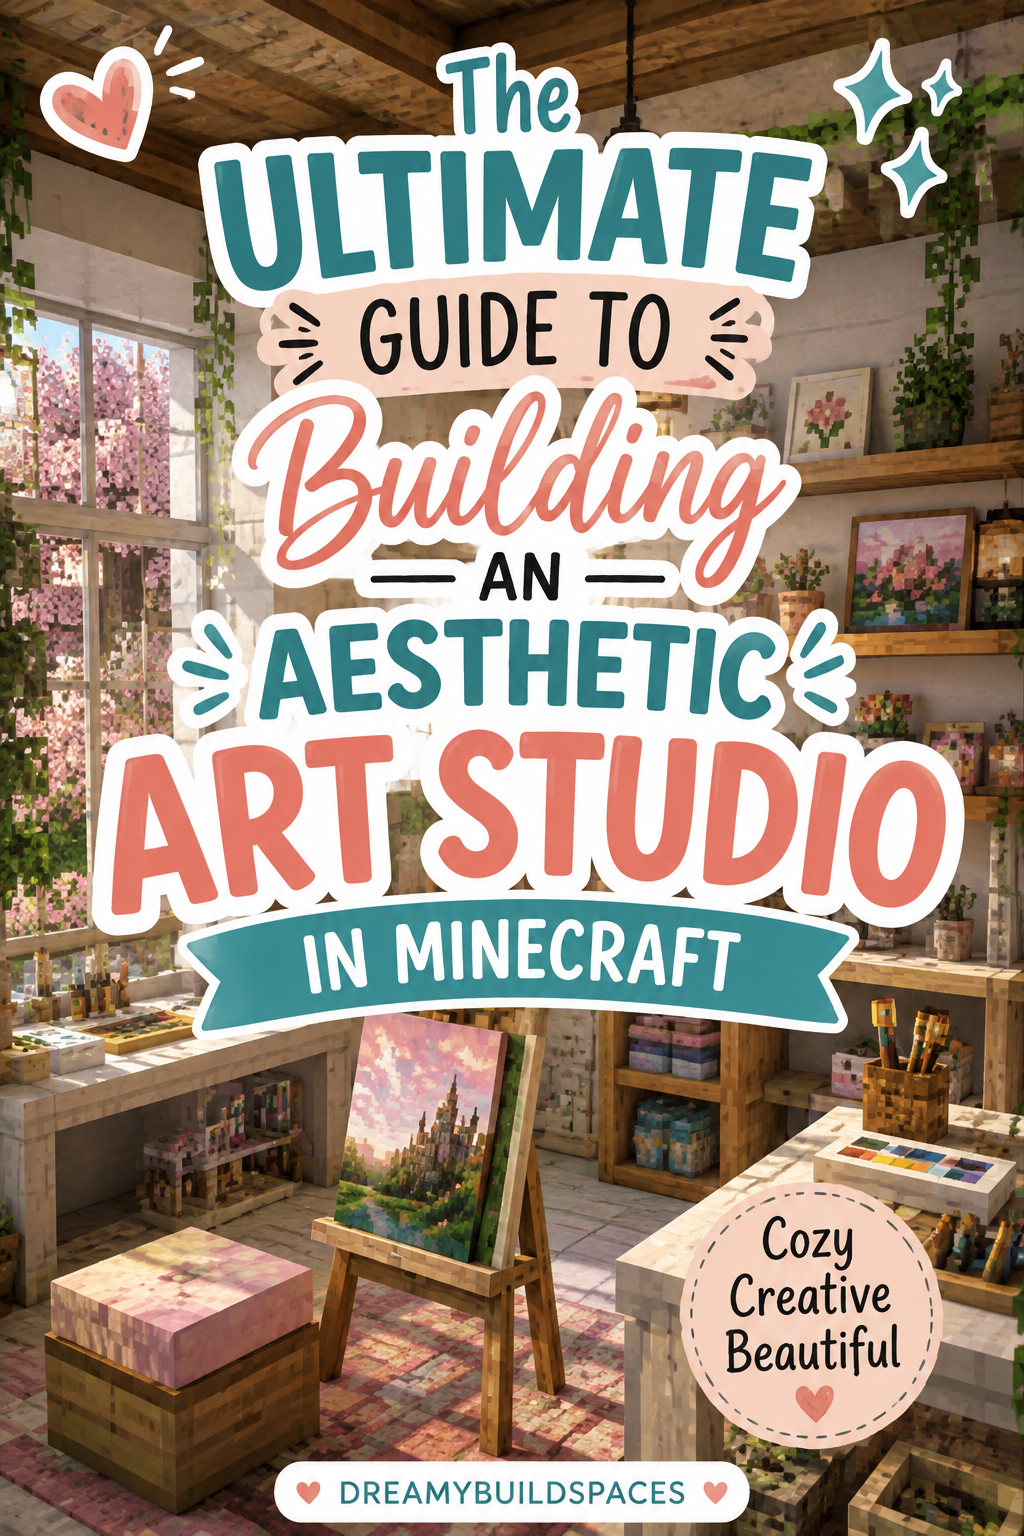
The Ultimate Guide to Building an Aesthetic Art Studio in Minecraft
Welcome to your ultimate guide for designing and building an aesthetic art studio in Minecraft. First, crafting a dedicated creative space in your world holds immense visual potential. Therefore, you should never settle for an uninspired corner of a survival base to store your banners, maps, and dye supplies. Consequently, a thoughtful architectural layout, expansive natural lighting, and curated interior decoration completely transform a basic room into an inspiring atelier. Furthermore, having an organized hub for custom map art, pottery, tailoring, and painting elevates your survival lifestyle significantly. Additionally, surviving in a creative world feels much more rewarding when your workstation is beautifully styled. However, designing a specialized atelier requires a clear understanding of light, material textures, and studio-specific furniture details. Next, we will explore core architectural principles, essential studio furniture designs, and twelve complete aesthetic art studio concepts step by step. Thus, you can easily build your dream studio in any biome today.
Mastering Art Studio Architecture & Light
First, studio architecture is fundamentally driven by lighting. Specifically, in real-world atelier design, north-facing and skylight windows provide even, diffused illumination that prevents harsh shadows. Therefore, in Minecraft, translating this aesthetic requires expansive glass facades, glass roofs, and high ceilings. Moreover, generous vertical room clearance completely changes how spacious your studio feels.
Key Architectural Guidelines
- High Ceilings & Lofts: First, build studio spaces at least four to six blocks tall. Consequently, this high vertical clearance allows you to construct raised mezzanine lofts for canvas storage, sleeping nooks, and easel perches.
- Skylights & Glass Walls: Next, utilize clear glass blocks or light gray stained glass panes across ceiling rafters and northern walls. Therefore, you can simulate natural daylight pouring directly across your canvases.
- Exposed Structural Framing: Furthermore, use stripped logs or iron bars to create visible industrial trusses, wooden ceiling beams, and support columns. Thus, your interior gains realistic architectural depth and structure.
- Wide Open Floor Plans: Additionally, keep central floor spaces completely open for easels, pottery wheels, and map display tables. Consequently, you can push bulky storage and utility blocks flush against perimeter walls without cluttering walkways.
The Art Studio Color Palette & Materials
Moving forward, an aesthetic art studio needs a balanced palette that showcases vibrant art pieces without visual noise. Therefore, neutral structural bases paired with colorful accent blocks create the ideal artistic environment.
- Primary Structural Base: First, stripped birch wood, smooth quartz, white concrete, or smooth sandstone provide clean, light-reflective canvas walls.
- Secondary Framing: Next, stripped oak logs, dark oak slabs, or spruce trapdoors add rich architectural shadow lines and furniture definition.
- Tactile Flooring: Furthermore, smooth stone, polished andesite, terracotta, or herringbone oak planks create durable, paint-splattered floor realism.
- Vibrant Dye & Color Accents: Finally, glazed terracotta tiles, wool rugs, decorated pots, flower pots, and custom banners introduce bright artistic pops of color.
Essential Custom Furniture & Studio Details
Before constructing full studio rooms, learn these staple micro-builds that bring authenticity to any Minecraft atelier. Specifically, small decorative details instantly make your creative workspace look functional and lived-in.
- Artist Easel & Canvas: First, place an armor stand in a small floor recess and equip it with a leather cap. Next, cover the recess with a wooden slab and mount an item frame holding custom map art on an adjacent wall block. Alternatively, use a loom block topped with an open trapdoor to mimic an adjustable wooden tabletop easel.
- Pottery Wheel Station: Furthermore, place a grindstone on top of an upside-down stair or cauldron, flanked by a crafter or loom. Consequently, you can surround it with decorated pots, clay balls in item frames, and a water-filled cauldron for wheel washing.
- Sculpting Workbench: In addition, place a stonecutter flanked by smooth stone blocks, with an armor stand holding an iron pickaxe or chisel. Thus, a chiseled stone block sitting on an oak fence pedestal looks like a statue in progress.
- Paint Palette & Pigment Table: Moreover, place an upside-down spruce stair and mount an item frame on top holding a wooden shovel to look like a painter’s palette. Then, surround it with flower pots holding wild flowers and small dyed leather caps on invisible armor stands.
- Canvases & Drafting Boards: Finally, place cartography tables and looms side by side, framed by vertical spruce trapdoors. Therefore, topping them with sea pickles and candles creates authentic brush jars and working table light.
1. Sunlit Modern Glass-Roof Loft
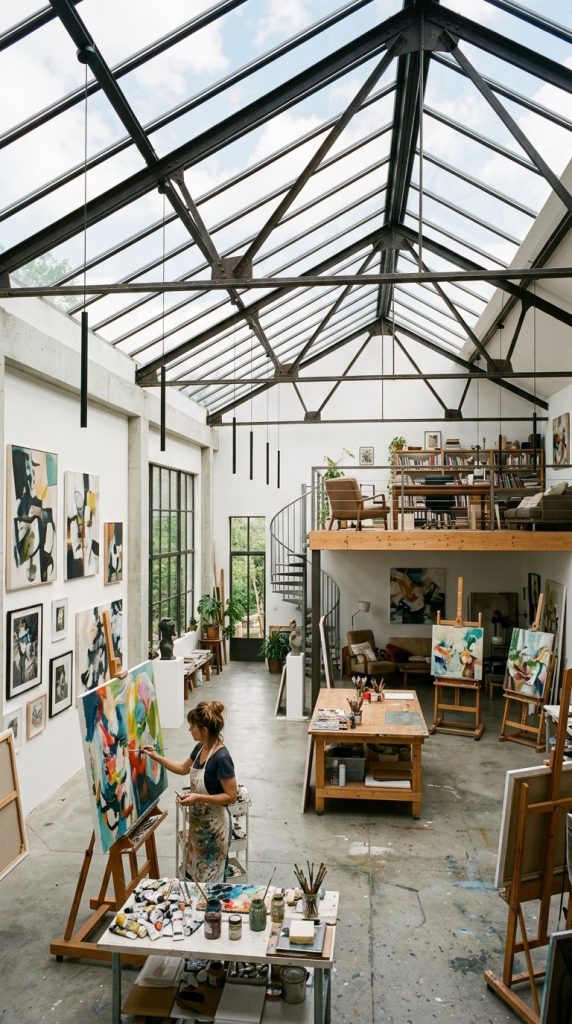
First, the modern glass-roof loft is the quintessential contemporary creative space. Specifically, it focuses on soaring vaulted glass ceilings, pristine white gallery walls, and open steel-framed mezzanine levels. Therefore, this design suits coastal cliff bases or urban high-rises where panoramic exterior views inspire artistic creation.
Step-by-Step Build Guide
- First, lay an 11×13 rectangle foundation using smooth quartz blocks and polished andesite flooring.
- Next, erect six-block tall pillars at all four corners using stripped birch logs.
- Then, fill the side walls with white concrete, leaving massive 3×4 center openings for clear glass pane windows.
- Furthermore, construct an arched glass roof using iron bars as industrial structural rafters, filling the gaps with clear glass blocks.
- Consequently, at height level four, build a 4×11 wooden mezzanine floor across the back half of the studio using smooth quartz slabs and iron bar safety railings.
- Afterward, connect the ground floor to the loft with a straight quartz stair ladder.
- Finally, place two painting easels on the main ground floor, surrounded by cartography tables, looms, and glowing end rod lights.
2. Parisian Rooftop Painter’s Garret
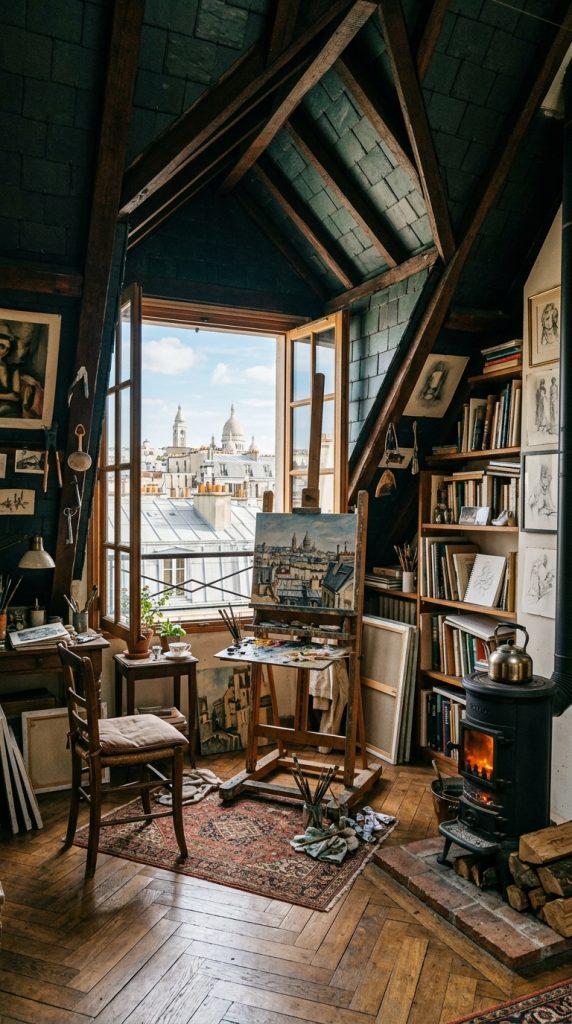
Next, nestled within the sloped slate roof of a town building, the Parisian garret art studio features sloped wooden dormer windows, warm timber clutter, and romantic bohemian charm. Therefore, it provides an exceptionally cozy, sheltered atmosphere for painting.
Step-by-Step Build Guide
- First, build an 8×10 room enclosed inside a steep 45-degree roofline crafted from dark prismarine or cobbled deepslate stairs.
- Next, punch a three-block wide opening in the sloped roof to build an outward-extending wooden dormer window with glass panes.
- Then, lay herringbone oak plank flooring across the interior.
- Furthermore, line the interior sloped walls with stripped spruce logs and spruce trapdoor wall paneling.
- Consequently, position a custom painting easel directly in front of the sunlit dormer window so daylight pours across the canvas.
- In addition, place bookshelves, stacked barrels, and crafting tables along the lower sloped eaves.
- Finally, install a small cast-iron potbelly stove using a campfire enclosed in iron trapdoors with an iron bar chimney.
3. Botanical Greenhouse Atelier
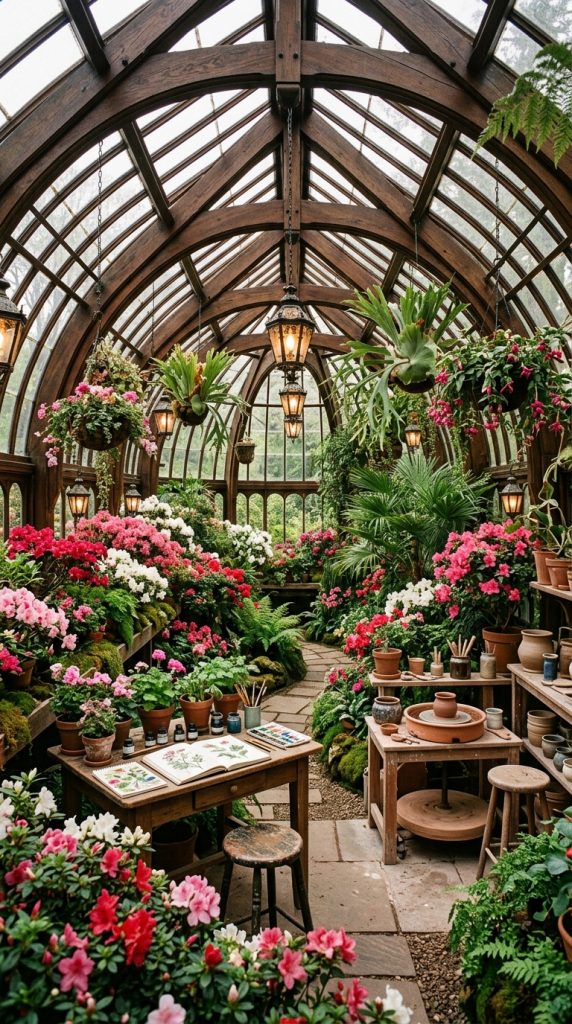
Moreover, combining an indoor jungle with an art studio creates the botanical greenhouse atelier, which is specifically designed for landscape painters, botanical illustrators, and plant enthusiasts.
Step-by-Step Build Guide
- First, lay a 9×11 perimeter of stone bricks, with an interior floor combining coarse dirt, moss blocks, and mud bricks.
- Next, build curved arch wall trusses using dark oak stairs and stripped logs.
- Then, fully enclose the walls and ceiling in clear glass panes.
- Furthermore, drape flowering azalea leaves, spore blossoms, and creeping vines across the ceiling trusses.
- Consequently, construct a botanical sketching desk using a cartography table and a lectern holding a book and quill.
- Afterward, position a grindstone pottery wheel beside a water-filled cauldron surrounded by clay blocks.
- Finally, suspend iron lanterns from the overhead foliage using chains to create a soft, enchanted glow at night.
4. Renaissance Sculptor’s Stone Workshop
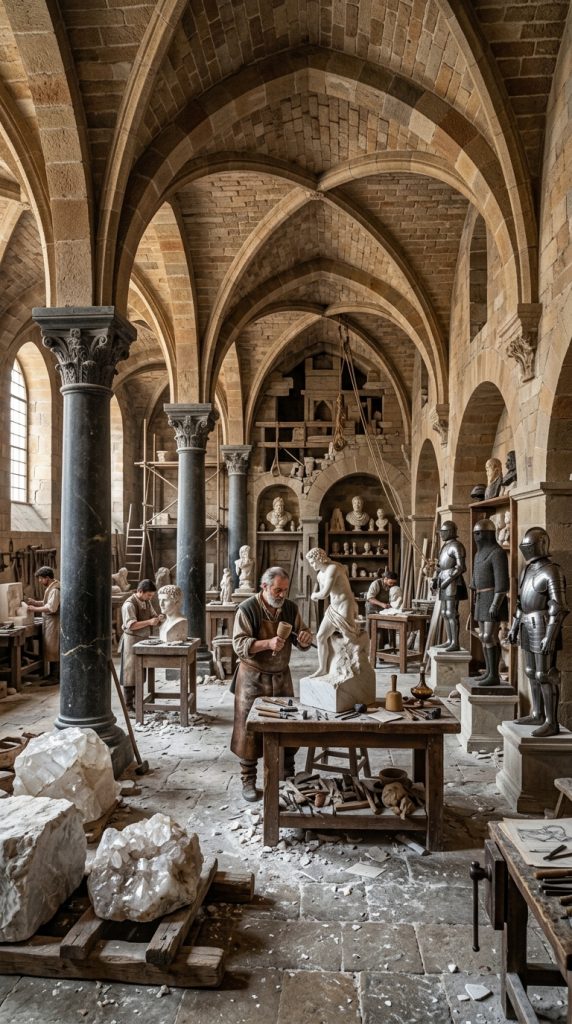
In contrast, inspired by classical marble sculpture studios, this workshop features heavy masonry arches, stonecutting machinery, raw mineral blocks, and half-carved statues. Therefore, it feels grand, historical, and deeply grounded.
Step-by-Step Build Guide
- First, lay a 10×12 floor using polished andesite and cobblestone.
- Next, erect thick three-block wide support columns using smooth basalt and stone bricks.
- Then, construct vaulted ceiling arches overhead using stone brick stairs, leaving small square light wells in the ceiling center.
- Furthermore, place three stonecutters along the side wall for stone shaping.
- Consequently, in the center, place an armor stand dressed in full iron armor atop a chiseled quartz pedestal to represent a statue in progress.
- In addition, stack raw blocks of calcite, smooth quartz, diorite, and granite in messy corner crates using spruce trapdoors.
- Finally, hang glowing soul lanterns from chains for a moody, classical ambiance.
5. Japanese Shoji Ink & Calligraphy Studio
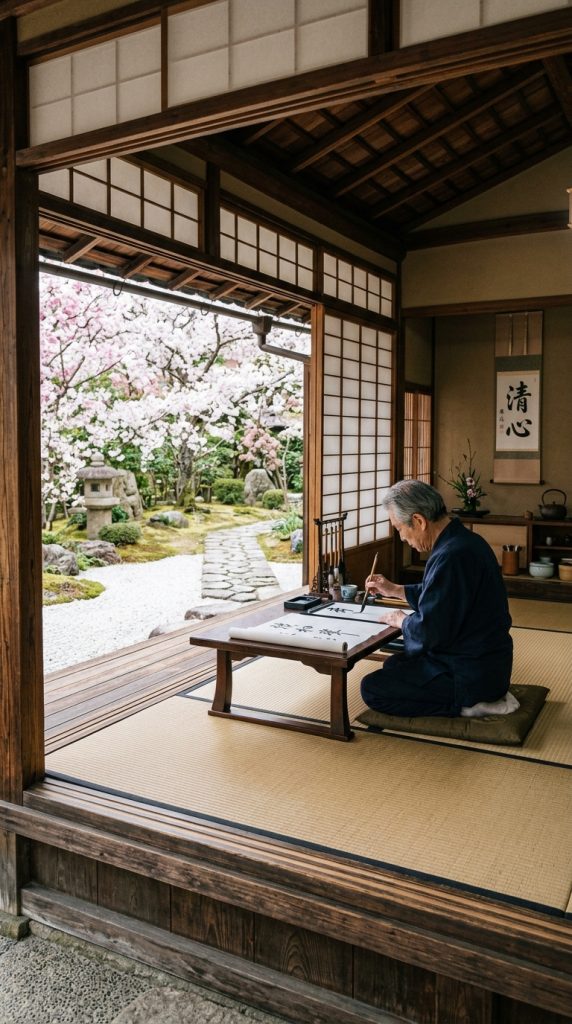
Additionally, a minimalist, serene studio dedicated to traditional scroll painting, ink calligraphy, and woodblock printing offers pure peace. Furthermore, surrounding it with tranquil cherry blossom views elevates the aesthetic immensely.
Step-by-Step Build Guide
- First, build an 8×8 platform raised one block off the ground using dark oak slabs and log stilts.
- Next, build exterior walls using white wool blocks framed by birch trapdoors to simulate sliding translucent paper screens.
- Then, pattern the interior floor using alternating pairs of dried kelp blocks and yellow wool to mimic Tatami mats.
- Furthermore, place two inverted dark oak stairs in the floor center to form a low drafting table.
- Consequently, place a lectern holding a book and quill, a loom for scroll stretching, and a black candle as an inkwell.
- Afterward, open one entire wall to an outdoor Zen garden featuring a small pond and cherry blossom leaves.
- Finally, hang soft paper lanterns from dark wooden ceiling beams.
6. Cozy Coastal Watercolor Studio
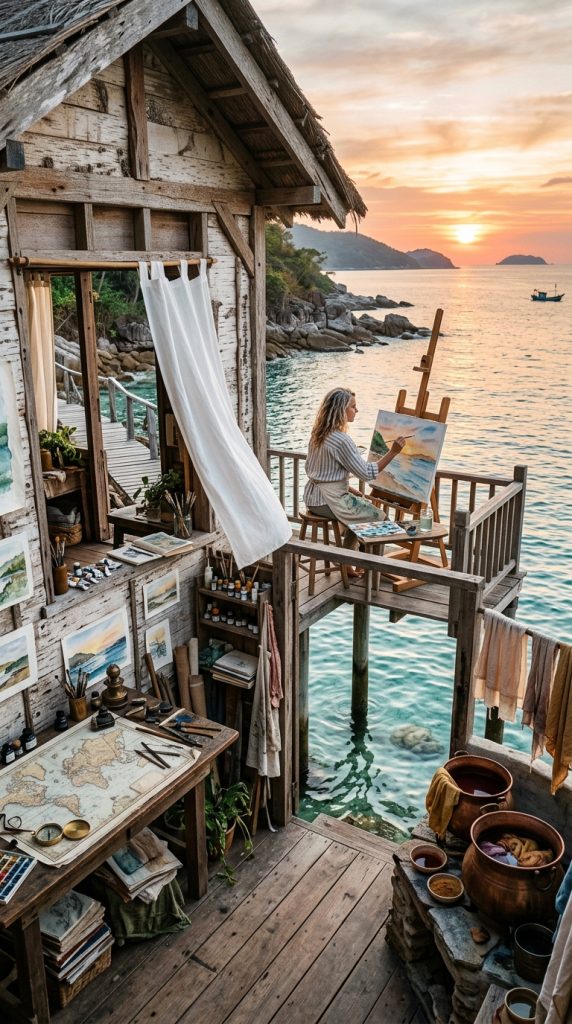
Similarly, overlooking an ocean or lake, this bright coastal studio uses bleached driftwood timber, sea glass colors, and breezy nautical accents. Therefore, it feels incredibly fresh, airy, and relaxing.
Step-by-Step Build Guide
- First, build a 7×9 wooden deck on oak fence stilts over shallow coastal water using birch planks and slabs.
- Next, construct walls using stripped birch logs and light blue concrete powder.
- Then, incorporate large open window bays with white banners acting as wind-blown curtains.
- Furthermore, place a cartography table and loom facing the ocean horizon, topped with sea pickles and a compass.
- Consequently, set up a dye station with cauldrons filled with blue and cyan-dyed water, flanked by barrels holding paper.
- In addition, extend a two-block wide outdoor balcony over the water with an easel set up to capture the ocean sunset.
- Finally, hang glowing iron lanterns from the corner fence posts.
7. Medieval Cartographer & Scribe Guild
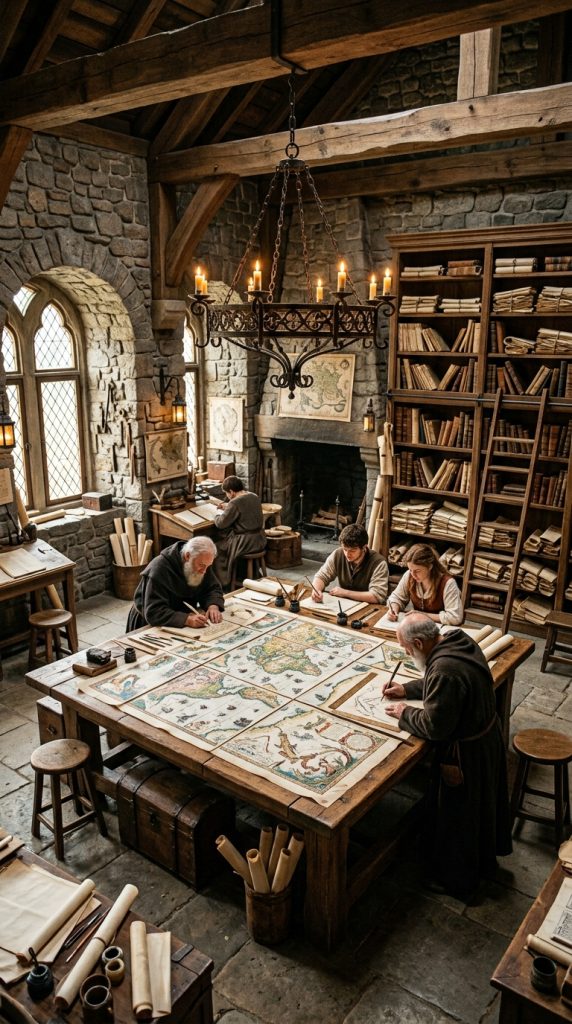
Meanwhile, designed for creating grand survival world maps, geographic scrolls, and illuminated manuscripts, this guild workshop feels ancient, scholarly, and grand.
Step-by-Step Build Guide
- First, build a 9×11 room using a mix of cobblestone, mossy stone bricks, and deepslate.
- Next, construct a massive 3×3 table in the center of the room using cartography tables and smooth oak slabs.
- Then, mount a complete nine-panel framed map of your survival world across the top surface.
- Furthermore, place two lecterns with books and quills along the side walls, illuminated by candles.
- Consequently, stack bookshelves all the way to the five-block ceiling, adding an attached wooden ladder for access.
- Afterward, detail the archive walls with spruce trapdoors acting as storage cabinets.
- Finally, hang a massive iron chandelier in the center using a grindstone base, iron bars, and glowing torches.
8. Gothic Alchemical & Stained Glass Atelier
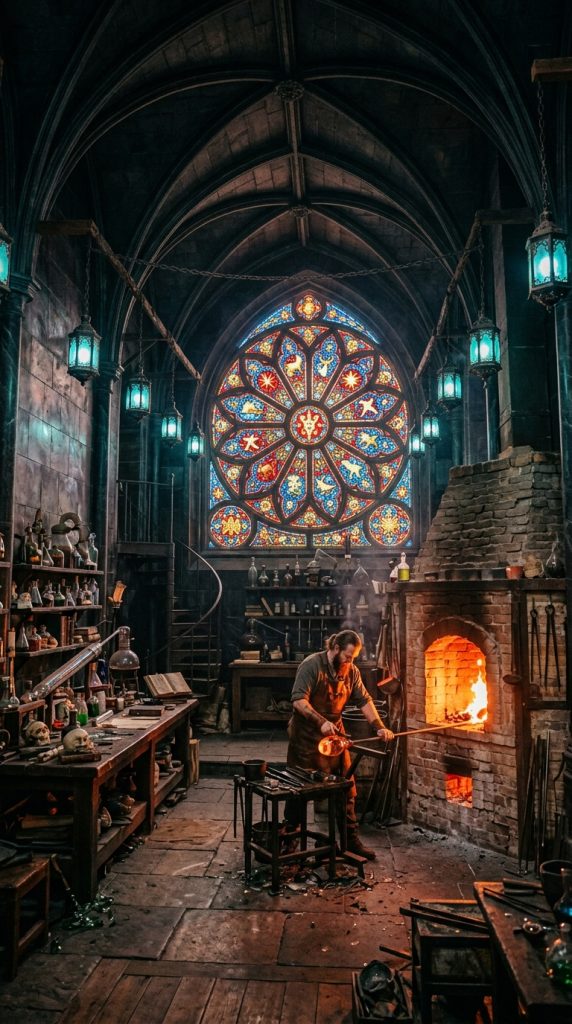
On the other hand, a dramatic, high-ceilinged workshop dedicated to crafting colorful stained glass windows, glass blowing, and alchemical color dyes creates an imposing fantasy vibe.
Step-by-Step Build Guide
- First, construct a 9×11 rectangular room with seven-block tall walls made of polished deepslate and deepslate tiles.
- Next, construct a circular rose window in the high rear gable wall using red, blue, yellow, and purple stained glass panes.
- Then, build a brick furnace kiln against the side wall using bricks, a lit campfire, and iron bars.
- Furthermore, place a cauldron beside the kiln for cooling hot glass pieces.
- Consequently, create floor-to-ceiling glass display racks using vertical iron bars holding rows of colored stained glass panes.
- In addition, build an alchemy dye station with brewing stands and colored water cauldrons.
- Finally, hang soul lanterns from high vaulted arches to cast deep blue shadows across the colored floor reflections.
9. Rustic Mountain Pottery & Ceramic Studio
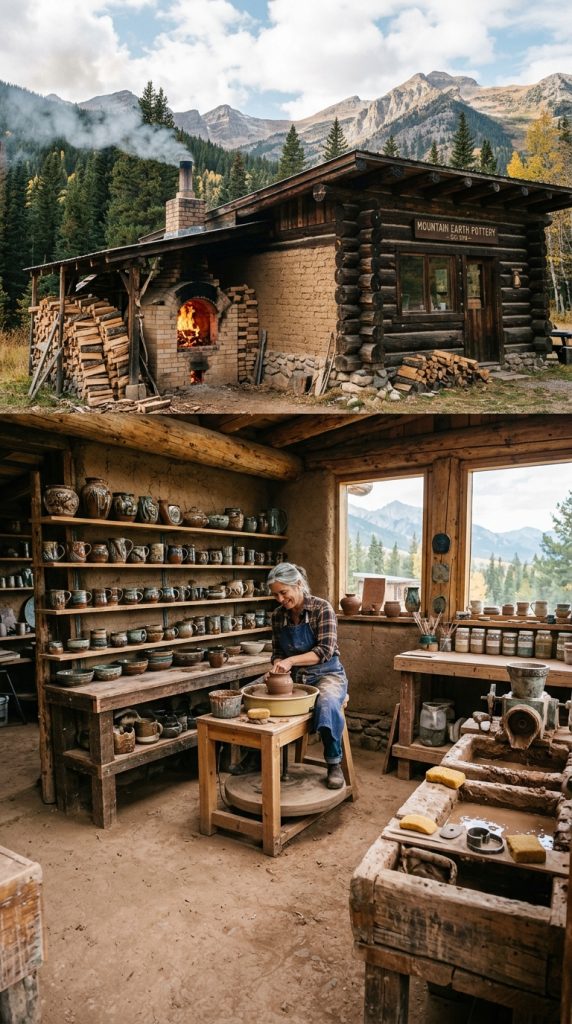
Similarly, a warm, earthy studio dedicated to clay digging, pottery throwing, decorated pots, and brick kiln firing fits mountain biomes perfectly. Therefore, it feels exceptionally sturdy and rustic.
Step-by-Step Build Guide
- First, build an 8×10 room using mud bricks, terracotta, and dark spruce logs.
- Next, construct two blast furnaces and smelters built flush into a brick fireplace alcove with a smoking chimney above.
- Then, place three water-filled cauldrons beside piles of clay blocks and raw mud for clay preparation.
- Furthermore, install open spruce slabs along the walls displaying crafted decorated pots, flower pots, and clay balls.
- Consequently, place two grindstones beside loom blocks to represent pottery throwing wheels.
- Afterward, add armor stands wearing brown leather tunics as potters’ work aprons.
- Finally, illuminate the rustic workspace with warm hanging iron lanterns.
10. Modern Underground Digital Art & Map Vault
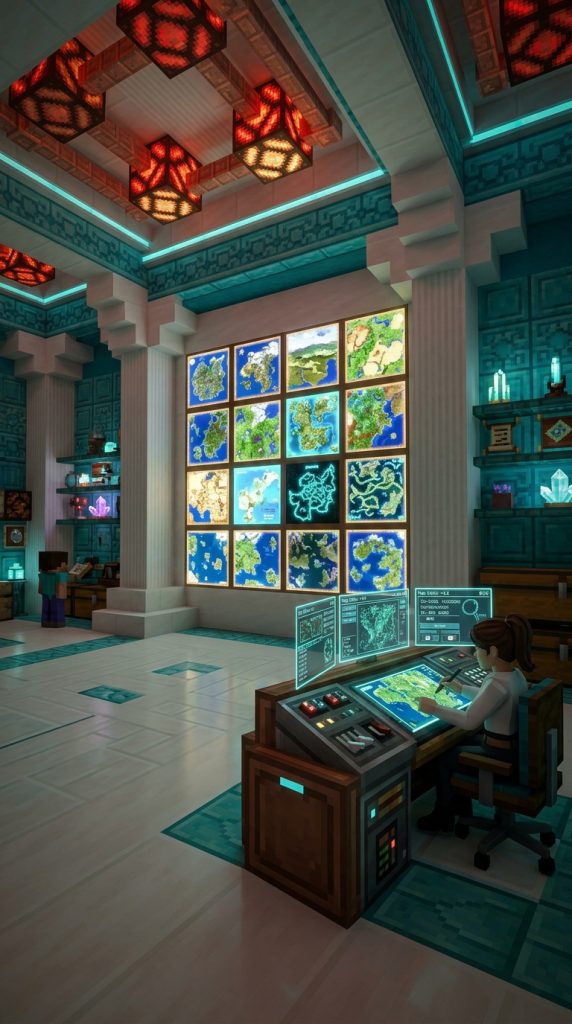
In contrast, a futuristic, clean subterranean bunker studio designed for massive custom pixel map creation, redstone lighting control, and high-tech drafting offers sleek modern utility.
Step-by-Step Build Guide
- First, excavate a 10×12 underground bunker room lined with smooth quartz, white concrete, and cyan terracotta.
- Next, construct a full 4×4 wall of glow item frames displaying a seamless custom map art mural, backlit by hidden sea lanterns.
- Then, build a modern drafting desk using smooth quartz stairs, an iron trapdoor keyboard, and a black stained glass pane monitor.
- Furthermore, install redstone lamps in the ceiling connected to a wall lever to toggle between bright task light and dim ambient display light.
- Consequently, install recessed wall chests concealed behind smooth iron trapdoors for clean, modern storage.
- Afterward, lay dark gray wool carpets along central walking paths.
- Finally, frame the entrance with sleek iron doors and pressure plates.
11. Whimsical Mushroom & Fairy Textile Studio
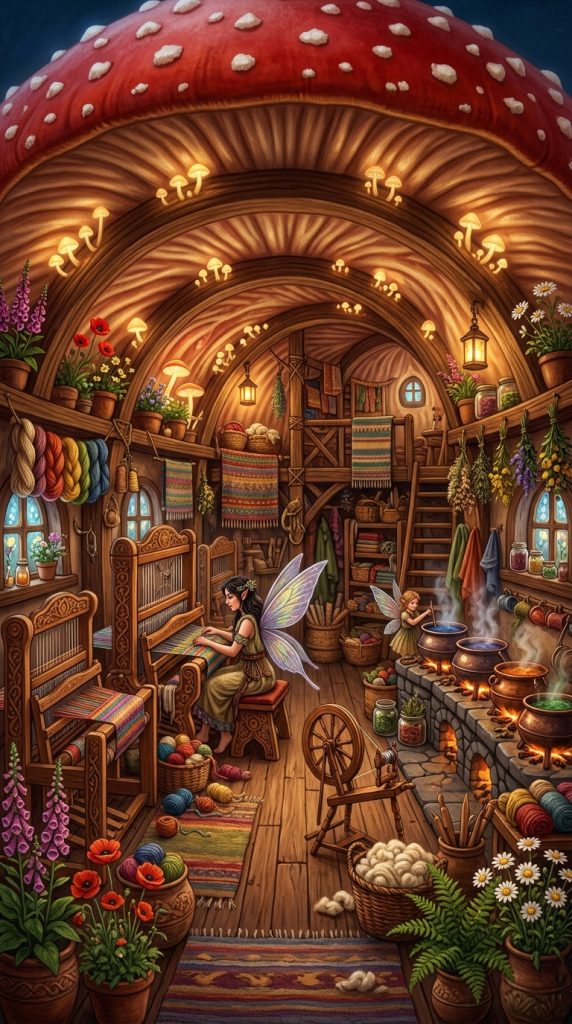
Additionally, a playful, organic studio nestled inside a giant mushroom cap is dedicated to loom weaving, banner embroidery, and flower petal dye extraction.
Step-by-Step Build Guide
- First, hollow out the interior of a giant red mushroom cap or build a circular dome from red mushroom blocks and white wool.
- Next, place three looms in a curved semi-circle inside the dome.
- Then, surround the looms with colorful wool blocks and hanging custom banners.
- Furthermore, place four cauldrons filled with bright magenta, yellow, cyan, and lime dyed water for dye extraction.
- Consequently, stack decorative colored wool blocks and carpet rolls inside birch trapdoor wall cubbies.
- In addition, plant potted wildflowers along the circular walls to supply natural pigments.
- Finally, hang pearlescent froglights wrapped in birch trapdoors from the ceiling center for a soft, magical glow.
12. Desert Terracotta Dye & Textile Atelier
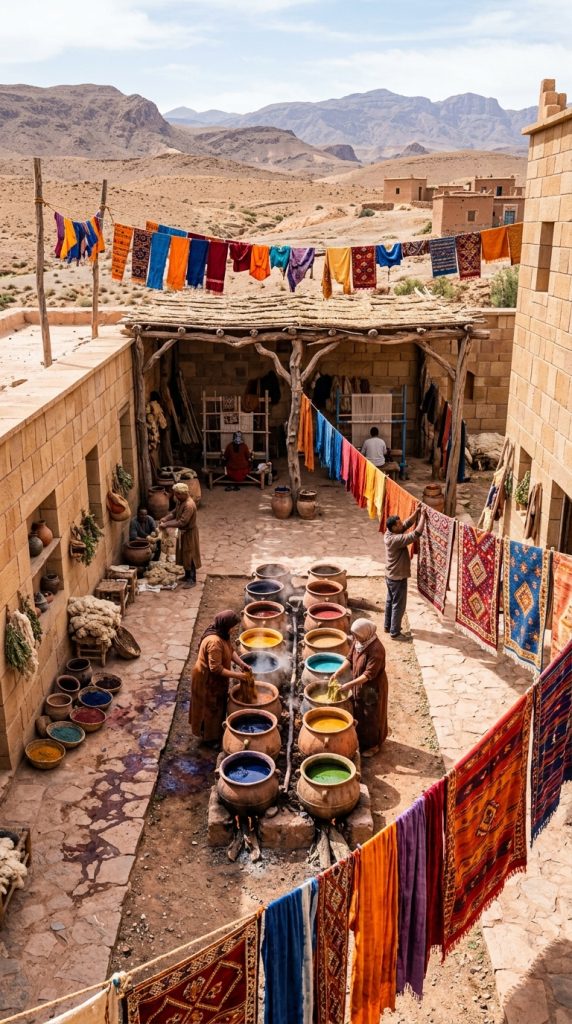
Finally, an open-air Mediterranean and Middle Eastern-inspired courtyard studio dedicated to natural textile dyeing, fabric drying, and pottery flourishes under bright desert sun.
Step-by-Step Build Guide
- First, build a 12×12 open-air walled courtyard using cut sandstone and orange terracotta blocks.
- Next, construct a central line of four cauldrons filled with bright orange, red, yellow, and brown dyed water, sunk one block into the floor.
- Then, stretch lines of oak fences across the open courtyard walls.
- Furthermore, hang multi-colored banners and carpets from the fences to simulate outdoor drying tapestries.
- Consequently, set up a potting bench with decorated pots, terracotta urns, and a stonecutter for tile carving.
- Afterward, cover one corner of the courtyard with acacia slabs and fences to shelter a drawing desk and pigment mortar.
- Finally, place potted desert cacti and warm redstone lamps around the perimeter to complete the sun-baked atelier.